15 Backpacking Tips: Your Ultimate Guide for Beginners
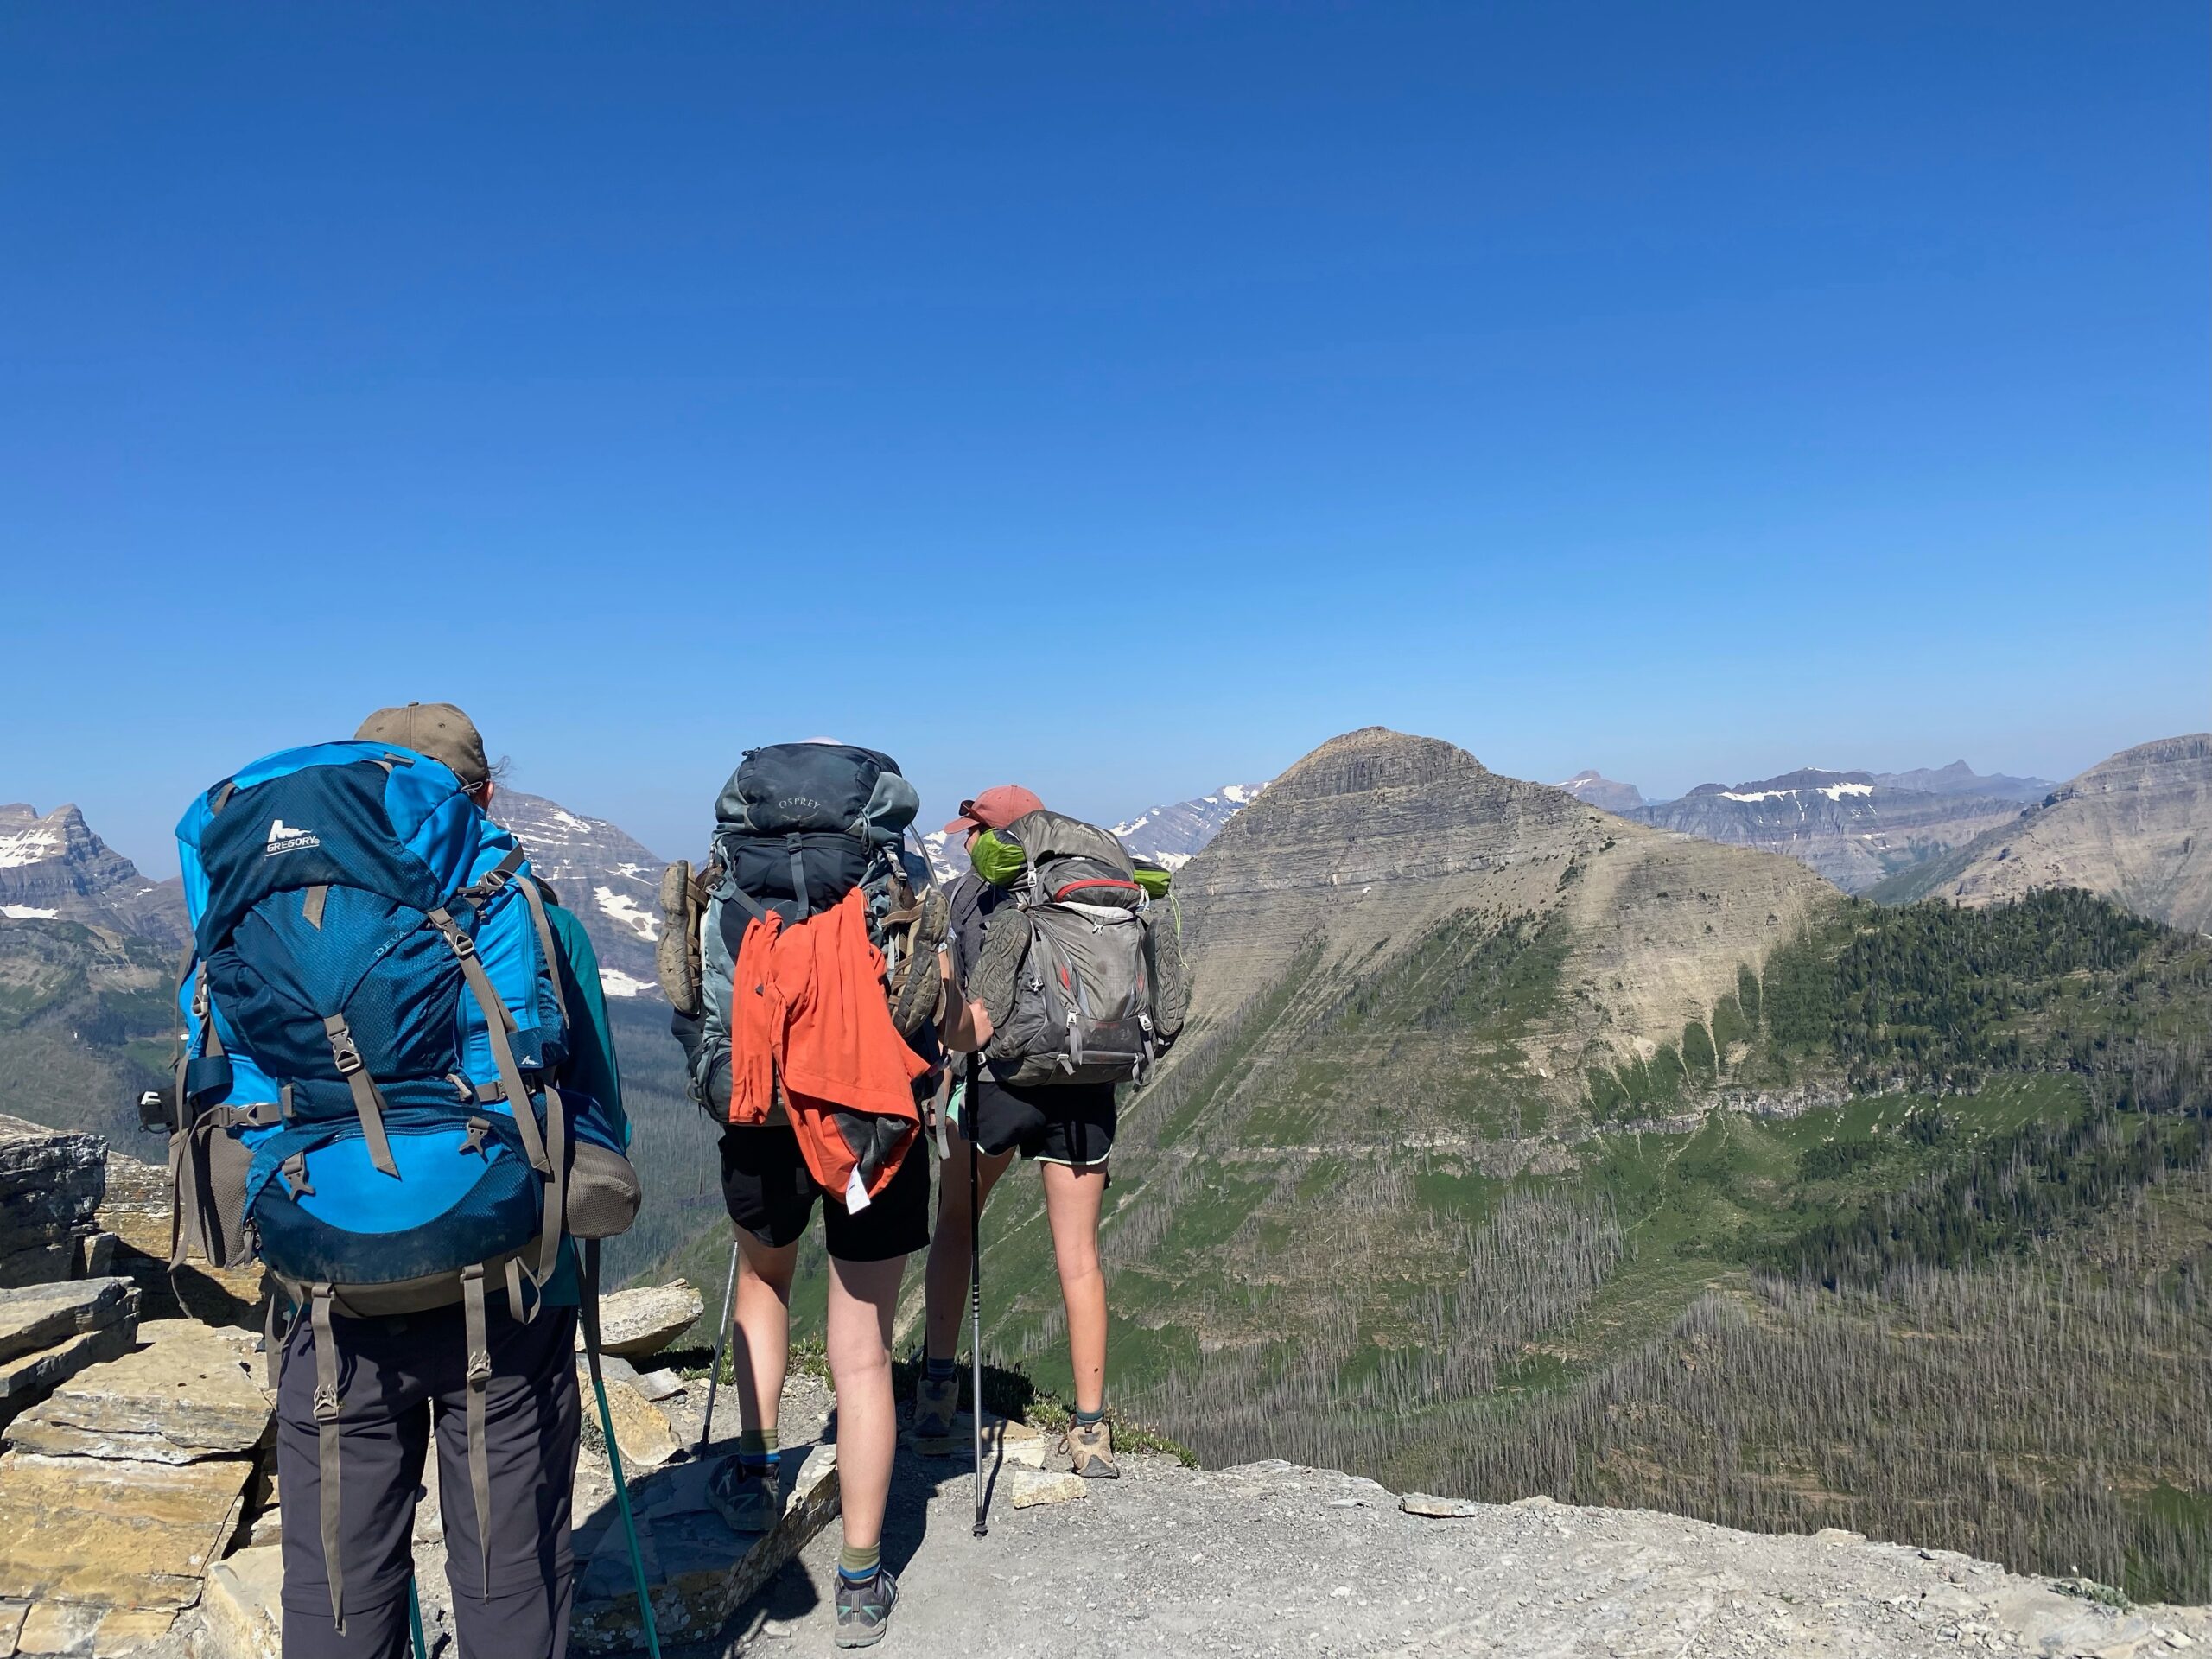
Have you always dreamt of getting out into the wilderness on a backpacking trip, sleeping beneath the stars, and watching the most stunning sunrises each morning? If this is your dream, but you’re not quite sure where to start, you’ve come to the right place for expert backpacking tips.
While backpacking can be extremely idealized, it is truly as wonderful as it seems (most of the time) when properly prepared. The key to falling in love with backpacking is, of course, to love being outdoors but also to have a successful first backpacking trip.
After going on countless backpacking trips all over the United States, I’ve compiled a list of 15 backpacking tips to ensure that you’ll have a fun and successful time backpacking!
Backpacking Tips for Beginners
Backpacking Tip #1: Choose Your Route
You’ve decided to finally plan that long anticipated backpacking trip. Congratulations! This is a big first step and one of the first questions to ask yourself is where are you going to backpack?
Choosing a backpacking route or trail is really important and it’s going to contribute to a successful first trip.
Things to consider: mileage, elevation, duration of trip, and route.
Duration of Backpacking Trip
For your first time backpacking, choose a one to two night trip. These shorter trips give a really great glimpse into what it’s like carrying weight for the very first time. As an experienced backpacker, most of my trips these days are 2 night trips! It’s the perfect amount of time to pack in a solid amount of miles and lots of wonderful sights.
Campsites
Planning out campsites is really important. Will you need a designated permit? Are you backpacking in a National Park or on Forest Service land? Are fires allowed? Is there a water source, shelter, or food locker?
Doing research on your backpacking route in advance is going to save a lot of time and headaches. If you can’t find definitive information online, it’s a good idea to find a phone number to call to receive assurance!
Mileage
On your first few backpacking trips it’s important to not overdo it. This means planning a trip that has realistic mileage. Each day, you should be averaging no more than 10 miles a day (even this can be a lot for your first time).
This will allow you to take as many breaks as needed without having to worry if you’ll make it to camp before the sun goes down. Remember, you’re just starting out! Focus on test driving what feels good to you.
Elevation
This is something I did not take into consideration on my first trip, but I sure wish I did. My first backpacking trip was in the Blue Ridge Mountains of Virginia so east coast mountains, how bad could the elevation be!? Wrong! The Blue Ridge Mountains have some wildly steep ascents and I’ve heard backpackers say they have experienced more challenging hiking in the Blue Ridge than the Rocky Mountains. Having a rough estimate of the elevation for each day will help you know what to expect!
Backpacking Tip #2: Always Check the Weather
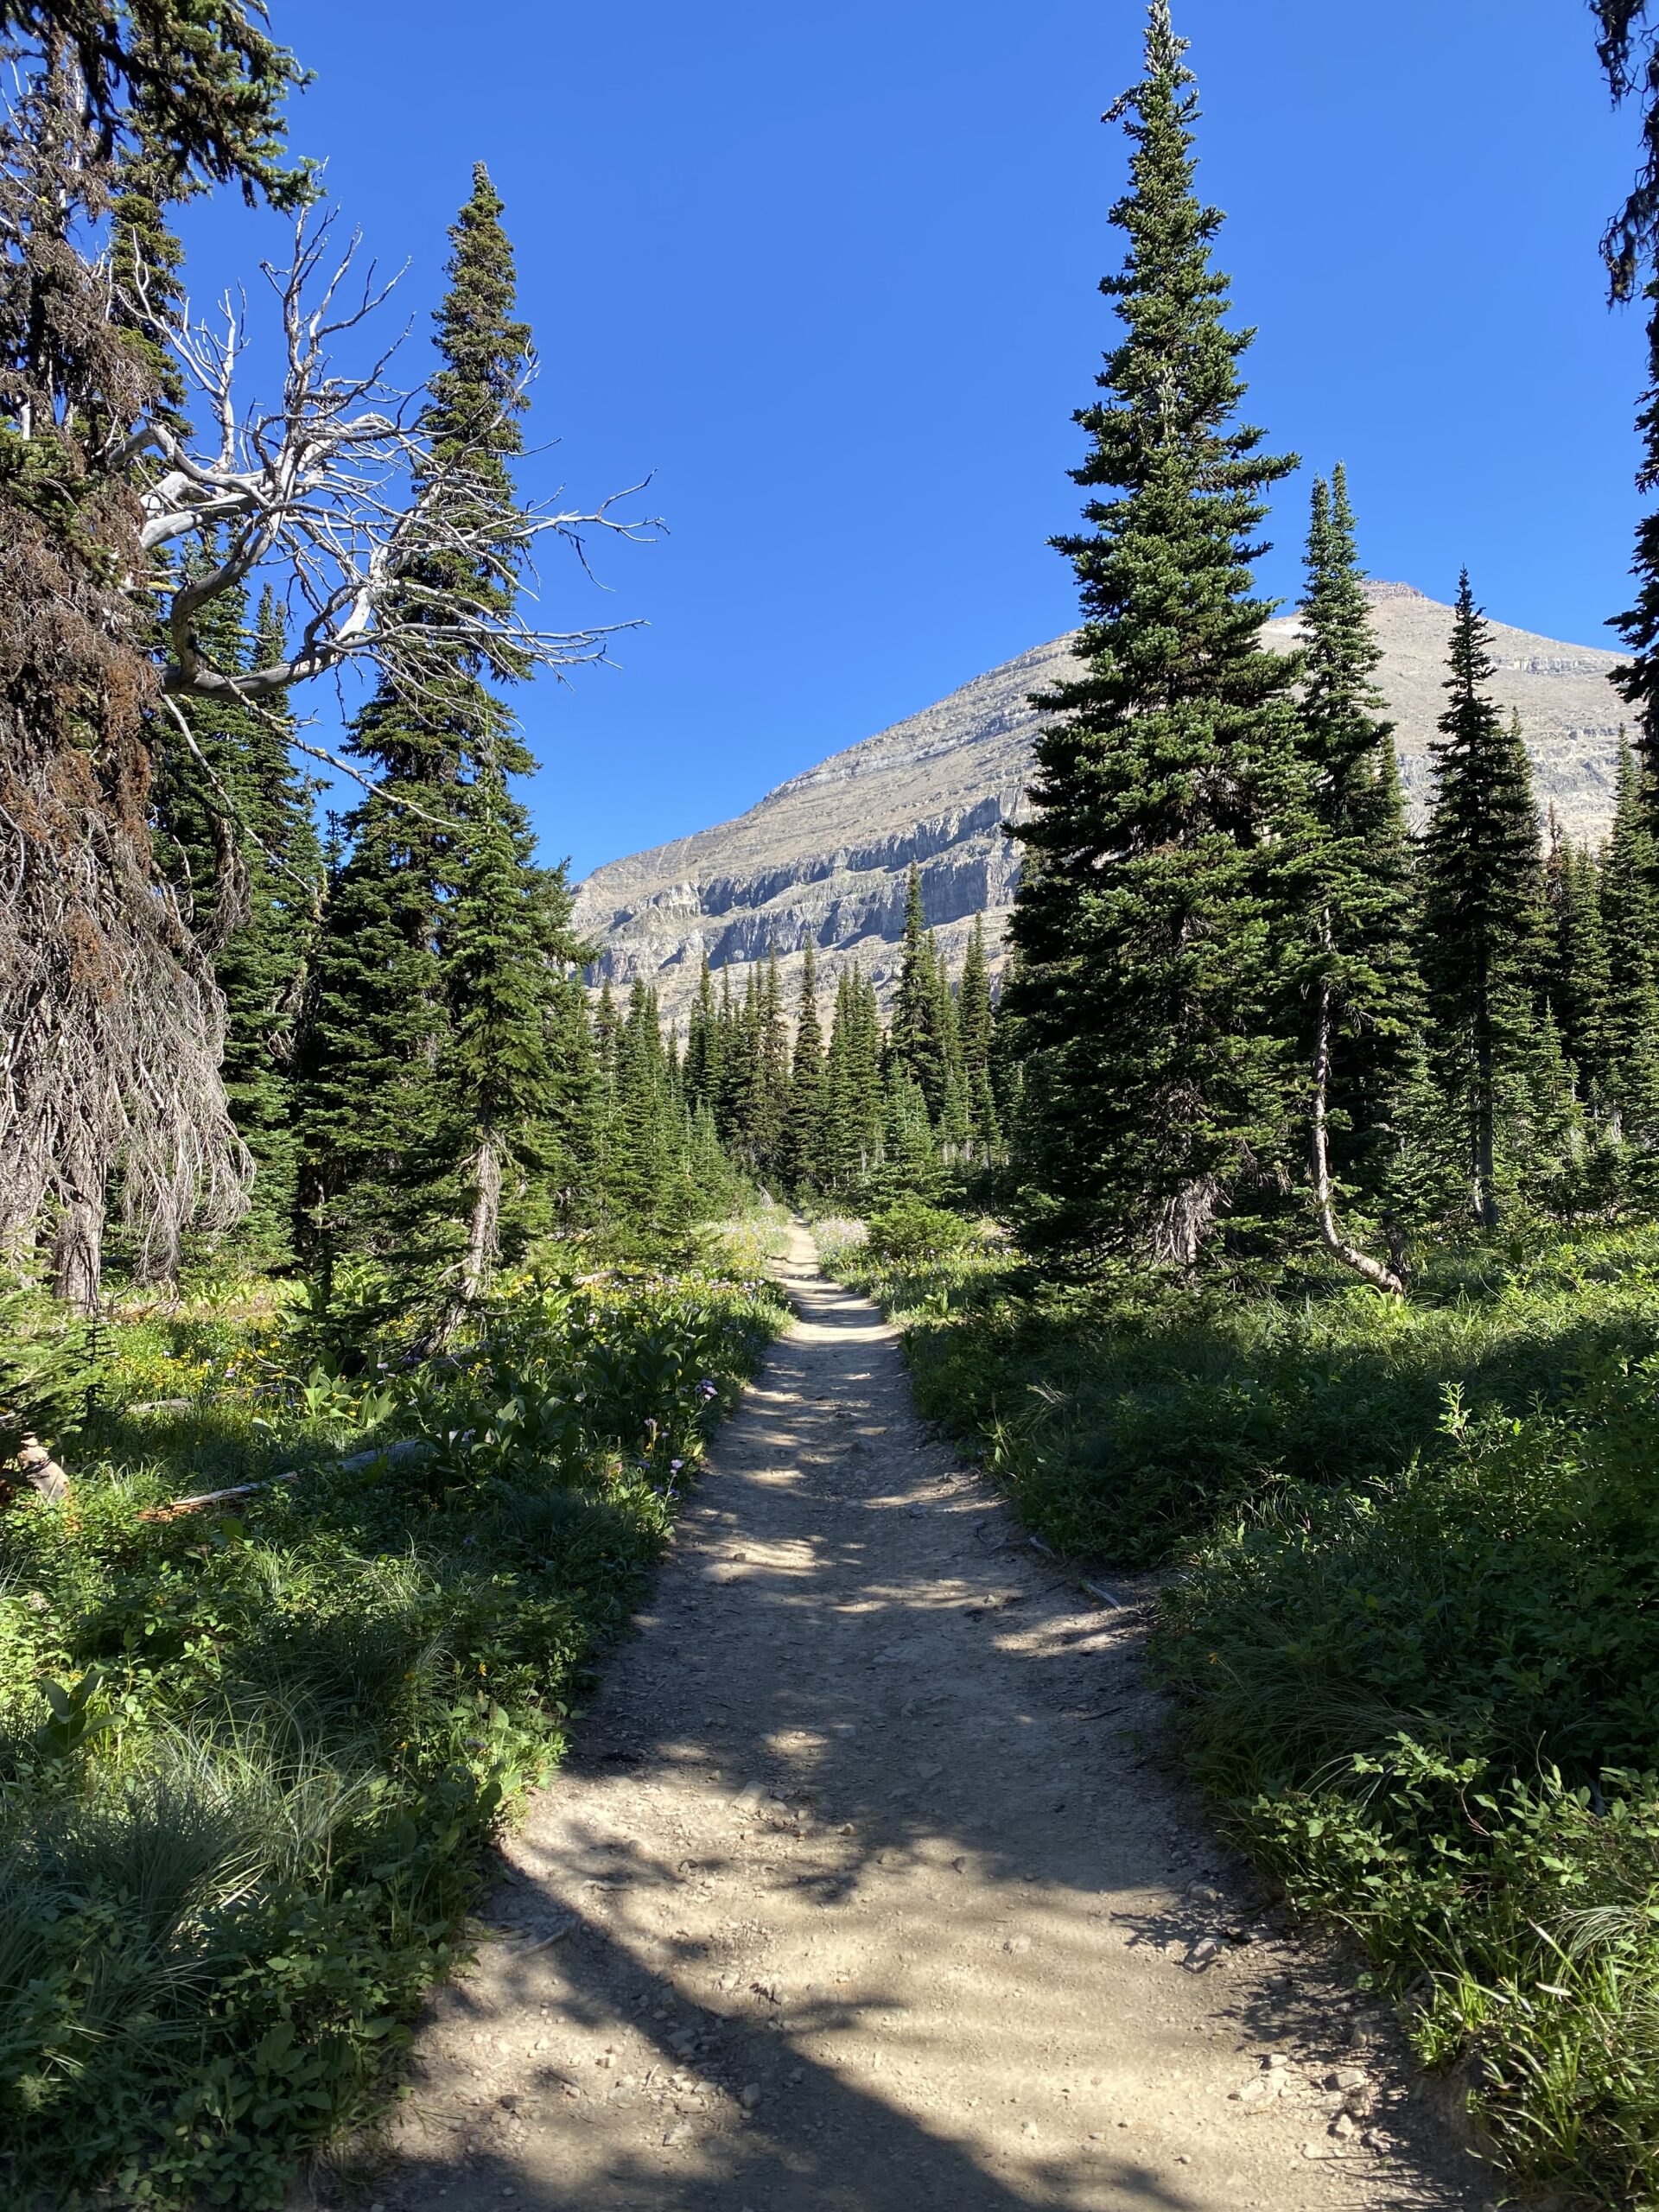
The weather is going to play a big part in any backpacking trip. After all, it involves spending 100% of your time outdoors. If the forecast is calling for monsoons or 100 degree weather for your trip, it’s probably not the smartest decision to venture into the backcountry. My ideal backpacking weather is a warm sunny or cloudy day with cool evenings.
It’s important to keep in mind that weather is subject to change and while one should always pack accordingly, there is some gear I will NEVER leave behind ( I learned the hard way). That includes a rain jacket, rain pants, a light down jacket, and gloves.
Backpacking Tip #3: Physically and Mentally Prepare
Physically prepare by weighing down your pack and walking a few miles with it on a local trail. This is a great way to get a feel for your pack so you can adjust it to comfortably fit your body. Also, it gives a good indication as to what it’s going to feel like carrying weight.
Mentally prepare by knowing how many miles and how much elevation gain you are going to be hiking each day. The average person hikes 2 miles per hour so if you have a ten-mile day ahead of you, you’ll know it’ll take roughly 5 hours to reach your next destination without breaks.
Backpacking Tip #4: Go With An Experienced Backpacker
I have found that the best way to go backpacking for the first time is to go with someone who is experienced. This is a great learning opportunity and a low-cost way to get into backpacking because they’ll most likely have gear you can borrow!
If you don’t know an experienced backpacker, don’t worry! There are a ton of companies that will take you on a guided backpacking trip. This is where you can physically learn the basic ins and outs, learn how to pack for your trip, get comfortable with being on the trail, and more.
Backpacking Tip #5: Invest in Your Gear (Backpack, Sleeping Bag, and Tent)
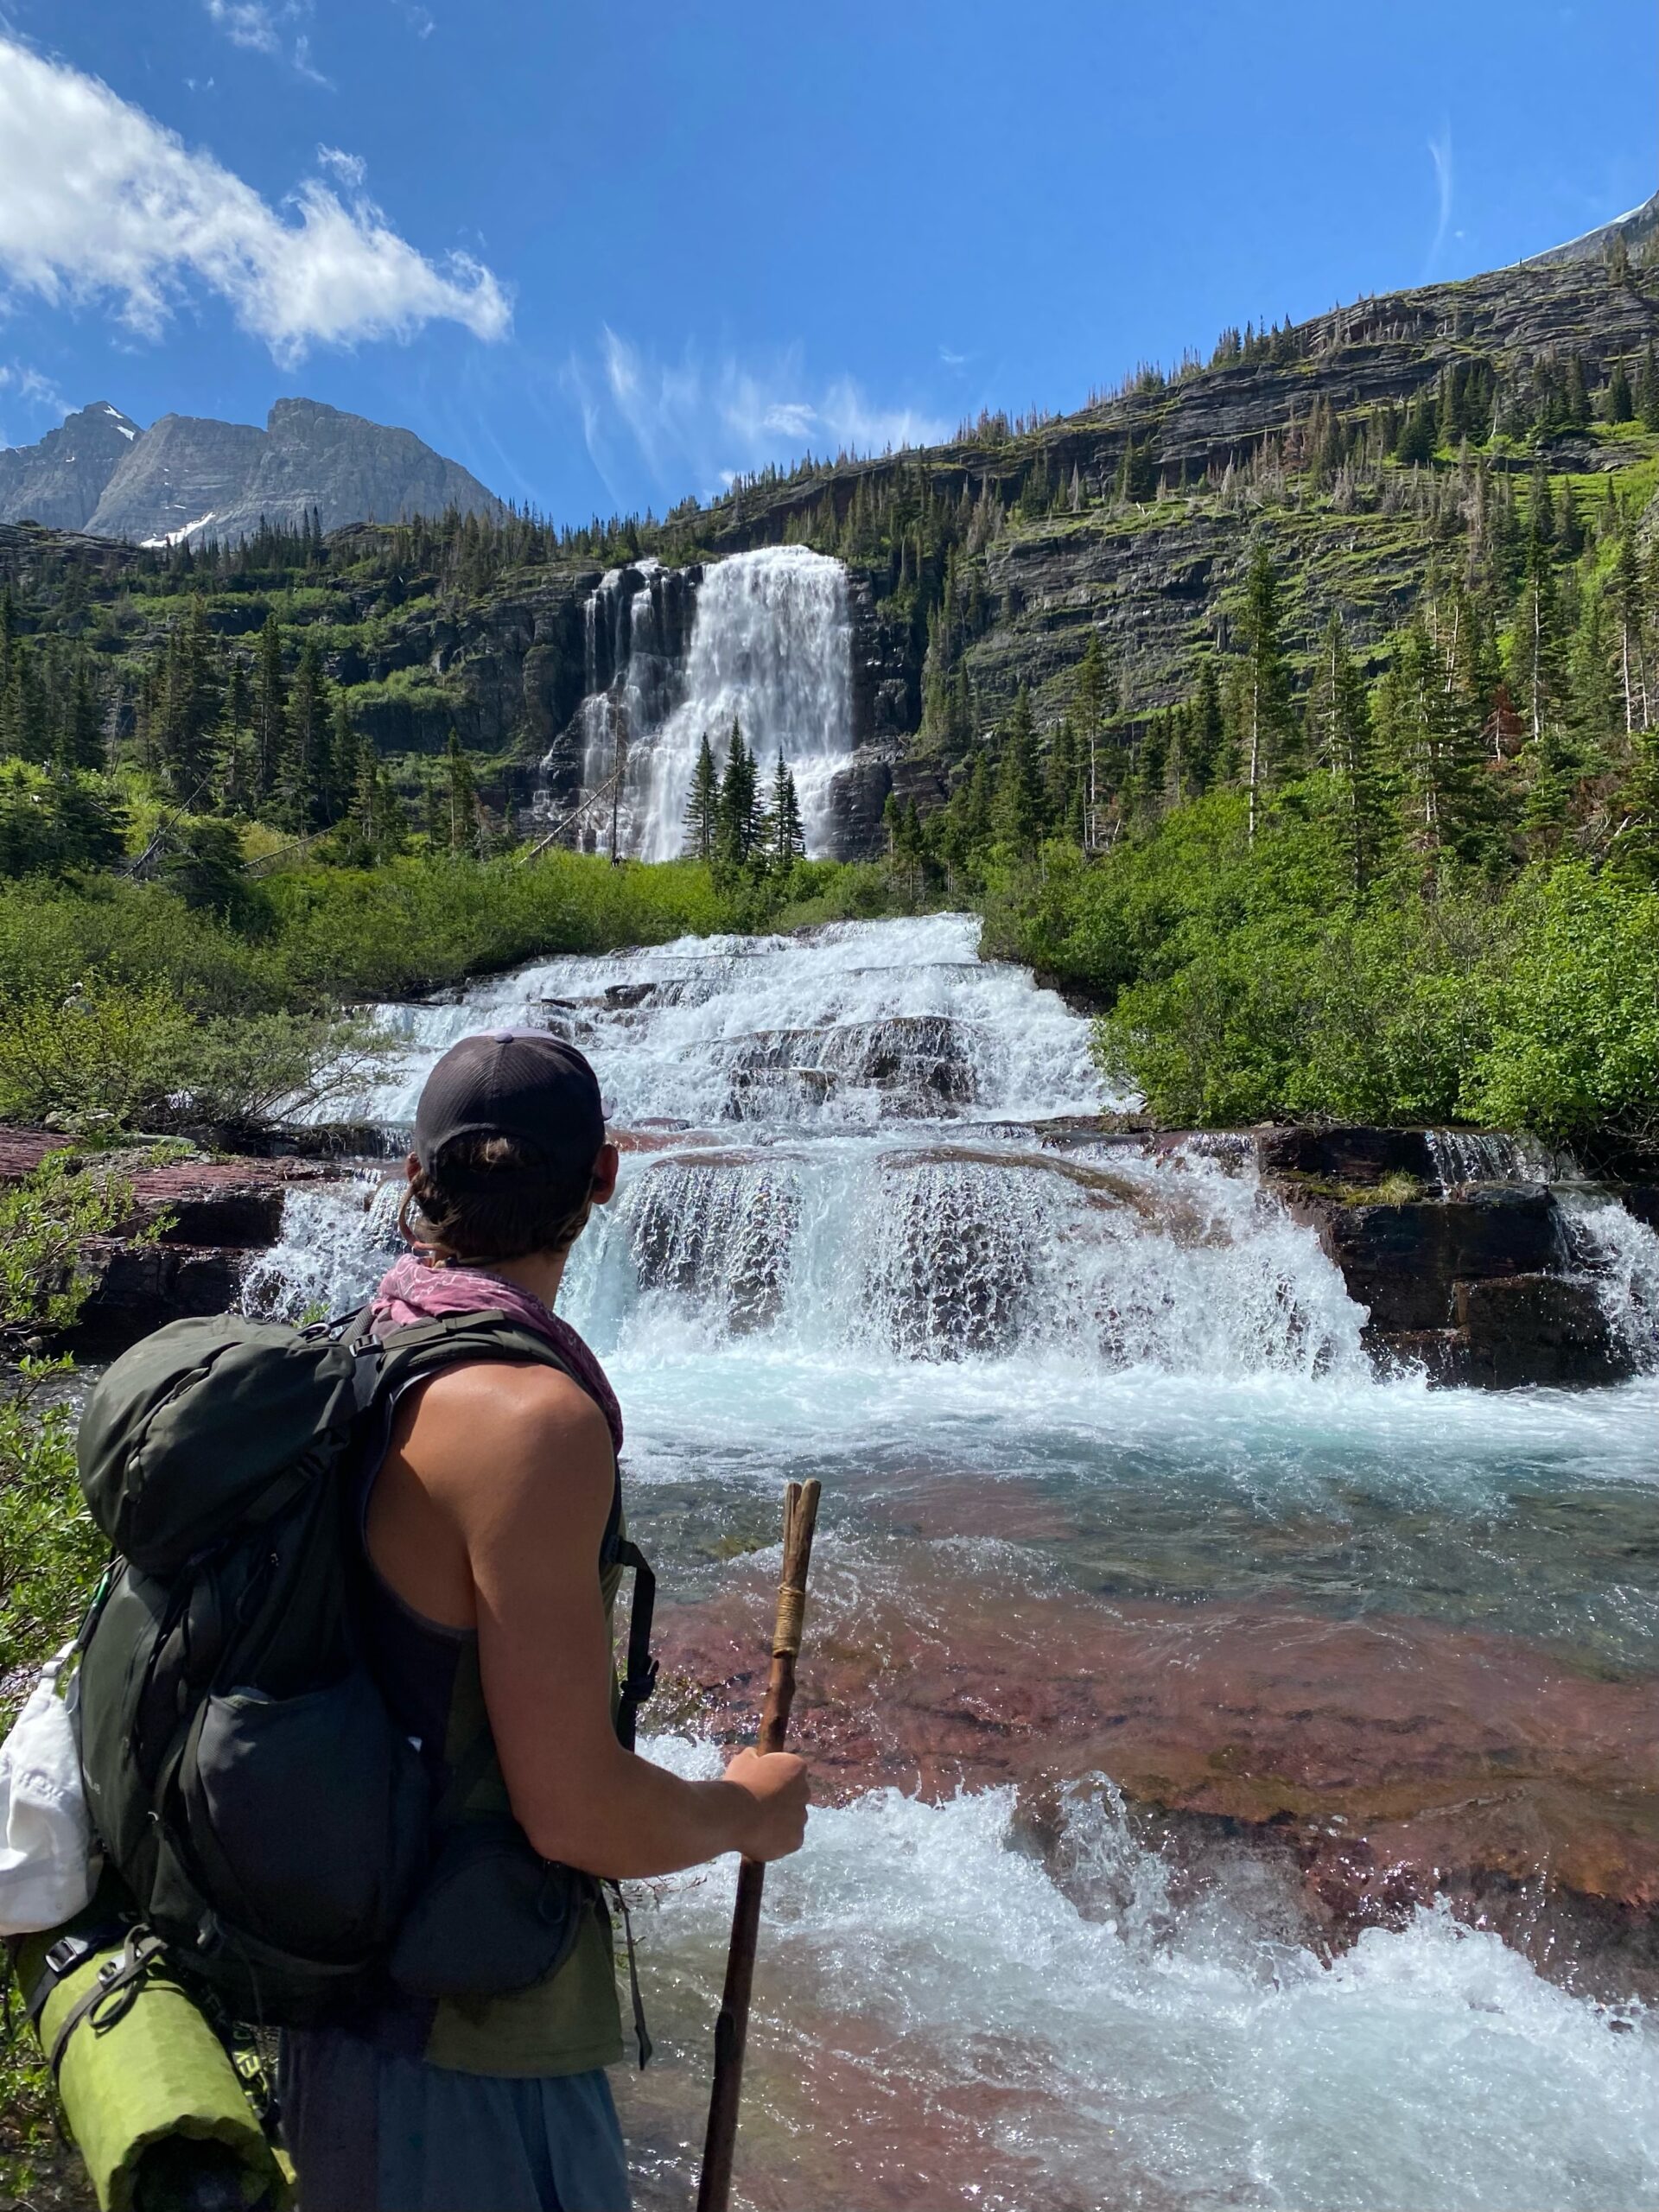
Before I embarked on my first backpacking trip, I made sure that I properly invested in the items that mattered: a backpack and a sleeping bag. I was fortunate enough that the person I went with had a tent and a sleeping pad for me to borrow.
I made a trip to my local REI where I asked a bunch of questions to the associate who was an expert in backpacks. He helped us choose solid packs in the correct size, which to me is the most important thing that you will be investing in.
Backpack Recommendations:
Osprey Kyte 48 (women)
I went with an Osprey Kyte 48-liter pack. This pack was on the lower end price wise, but it’s comfortable and it gets the job done. While this pack is on the smaller side in terms of space, I prefer it that way. It helps me pack less which in turn means less weight. I even took it on a 5-day backpacking trip where I had to pack layers and a big radio since I was on the clock part of the time!
Osprey Kestrel 48 (men)
A great pack for men is the Osprey Kestrel 48. This pack has been tried on many backpacking trips in Montana’s wilderness and it has always performed well. Considering its price point and durability (going on over 3 years now), it’s the perfect first backpack to invest in.
Sleeping Bag
There are a few key things to consider when purchasing a sleeping bag – the material (goose down or synthetic), the sleeping bag shape (mummy or rectangular), and what temperature rating you prefer (how warm your sleeping bag will keep you).
Down vs Synthetic
Down is great for:
- Lightweight sleeping bag option
- Compresses easily
- Performs well in cold and dry weather
- Cozy and lofty
One of the main downsides to a down sleeping bag is that when down gets wet, it will no longer keep you warm. It also tends to be a bit on the pricier side of sleeping bags.
Synthetic is great for:
- Insulates even when wet
- Affordable option
- Dries quickly
Synthetic material is wonderful. It keeps you plenty warm and the best part about it is that it will continue to insulate when wet. However, it tends to be a bit bulkier than down and it can lose its ability to insulate and that will decrease every time it’s compressed.
I chose a goose-down sleeping bag and it’s still in great condition years later. However, I know people who have used and loved their synthetic sleeping bag for years as well. So it will truly come down to personal preference. To me, a light-weight, cozy sleeping bag was most important so I purchased a goose down sleeping bag.
Pro Backpacking Tip:
ALWAYS pull your sleeping bag out of its compression bag when at home. This will increase the life of your sleeping bag and allow it to be loftier, increasing its insulation lifespan.
Shape of Sleeping Bag:
Mummy
A mummy or coffin-shaped sleeping bag is exactly what it sounds like. It’s rounded at the head with a hood and is tapered at the feet. These bags allow for optimal warmth and allow for more room in your backpack. I went with this shape because I get cold easily so having optimal warmth and a hood I can cinch at the neck was the best choice.
Rectangular
If you’re looking for a spacious sleeping bag for backpacking where you have room to move your arms and legs at night, a rectangular sleeping bag is probably best for you. The nice thing about a rectangular bag is that it can typically be completely unzipped and used as a blanket. The extra room that this shape provides, will keep you from feeling restrained.
Quilt
Many backpackers prefer quilts to sleeping bags since they are a lightweight option. If you plan on backpacking in a much warmer climate, a quilt may be the way to go but at the end of the day, it’s completely up to preference.
Temperature Ratings
Temperature rating is a really important thing to consider and can easily be overlooked when choosing gear for the first time. There are three temperature ratings you need to be aware of: summer season (30 degrees and higher), three seasons (15 to 30 degrees), and winter(15 degrees and below).
I purchased a Kelty 20-degree sleeping bag. This means that this bag should continue to keep me warm as long as the outside air temperature does not drop below 20 degrees. I have found this bag to be a great 3 season sleeping bag as I’ve slept in it on very cold nights and average nights as well.
Sleeping Pad:
Insulated vs. Non-Insulated
An insulated sleeping pad is going to better insulate heat from cold surfaces to keep you warmer at night. A non-insulated sleeping pad is a fine choice if you’re only camping in warm weather. However, since most areas in the mountains drop in temperature at night, I’m going to recommend you choose an insulated sleeping pad for your first purchase.
R-Value
This is your sleeping pad’s ability to resist heat loss to the ground. The higher the R-value of your sleeping pad, the warmer it will keep you.
Sleeping Pad Recommendations:
Nemo Switchback Ultralight Sleeping Pad
This accordion-style sleeping pad is an extremely popular choice amongst the ultralight backpackers out there and for good reason. At its phenomenal price point, weight, and durability it’s high on my list for the best sleeping pad on the market. It weighs only a mere 14.5 ounces and it’s insulated. Surprisingly, it was quite comfortable as a stand-alone sleeping pad. However, you can double it up with an additional inflatable sleeping pad for added comfort.
While this sleeping pad offered a great night’s rest on even ground, it wouldn’t be my first option if I were backpacking on top of tree roots or at a rocky campsite.
Powerlix Ultralight Sleeping Pad for Camping
If you’re looking for an inflatable and lightweight sleeping pad, the Powerlix is sure to do the trick. This was the first sleeping pad I ever bought for a cool $40 off of Amazon. It weighs 1.32 pounds and inflates fairly quickly. The only downside is that if you’re a side sleeper it may not be thick enough to keep your hips from hitting the ground when you sleep.
Nemo Astro Sleeping Pad
If you’re looking for luxury on the trail you’re going to want the Nemo Astro Sleeping Pad. This pad inflates to 3.5 inches and is a sure way to get the best night of sleep one can get on the trail.
At 5’7 I went for extreme comfort with this pad and purchased the Long and Wide version. You could say I sleep like a baby these days when backpacking thanks to my Nemo. If you’re a side sleeper like me and need a good night’s sleep every night this is the sleeping pad for you.
The only downside is the weight and overall bulkiness of the pad compared to other lightweight options. However, I’ll carry a few extra ounces and make room in my pack if that means I’m guaranteed a full night’s sleep every night on the trail.
Tent
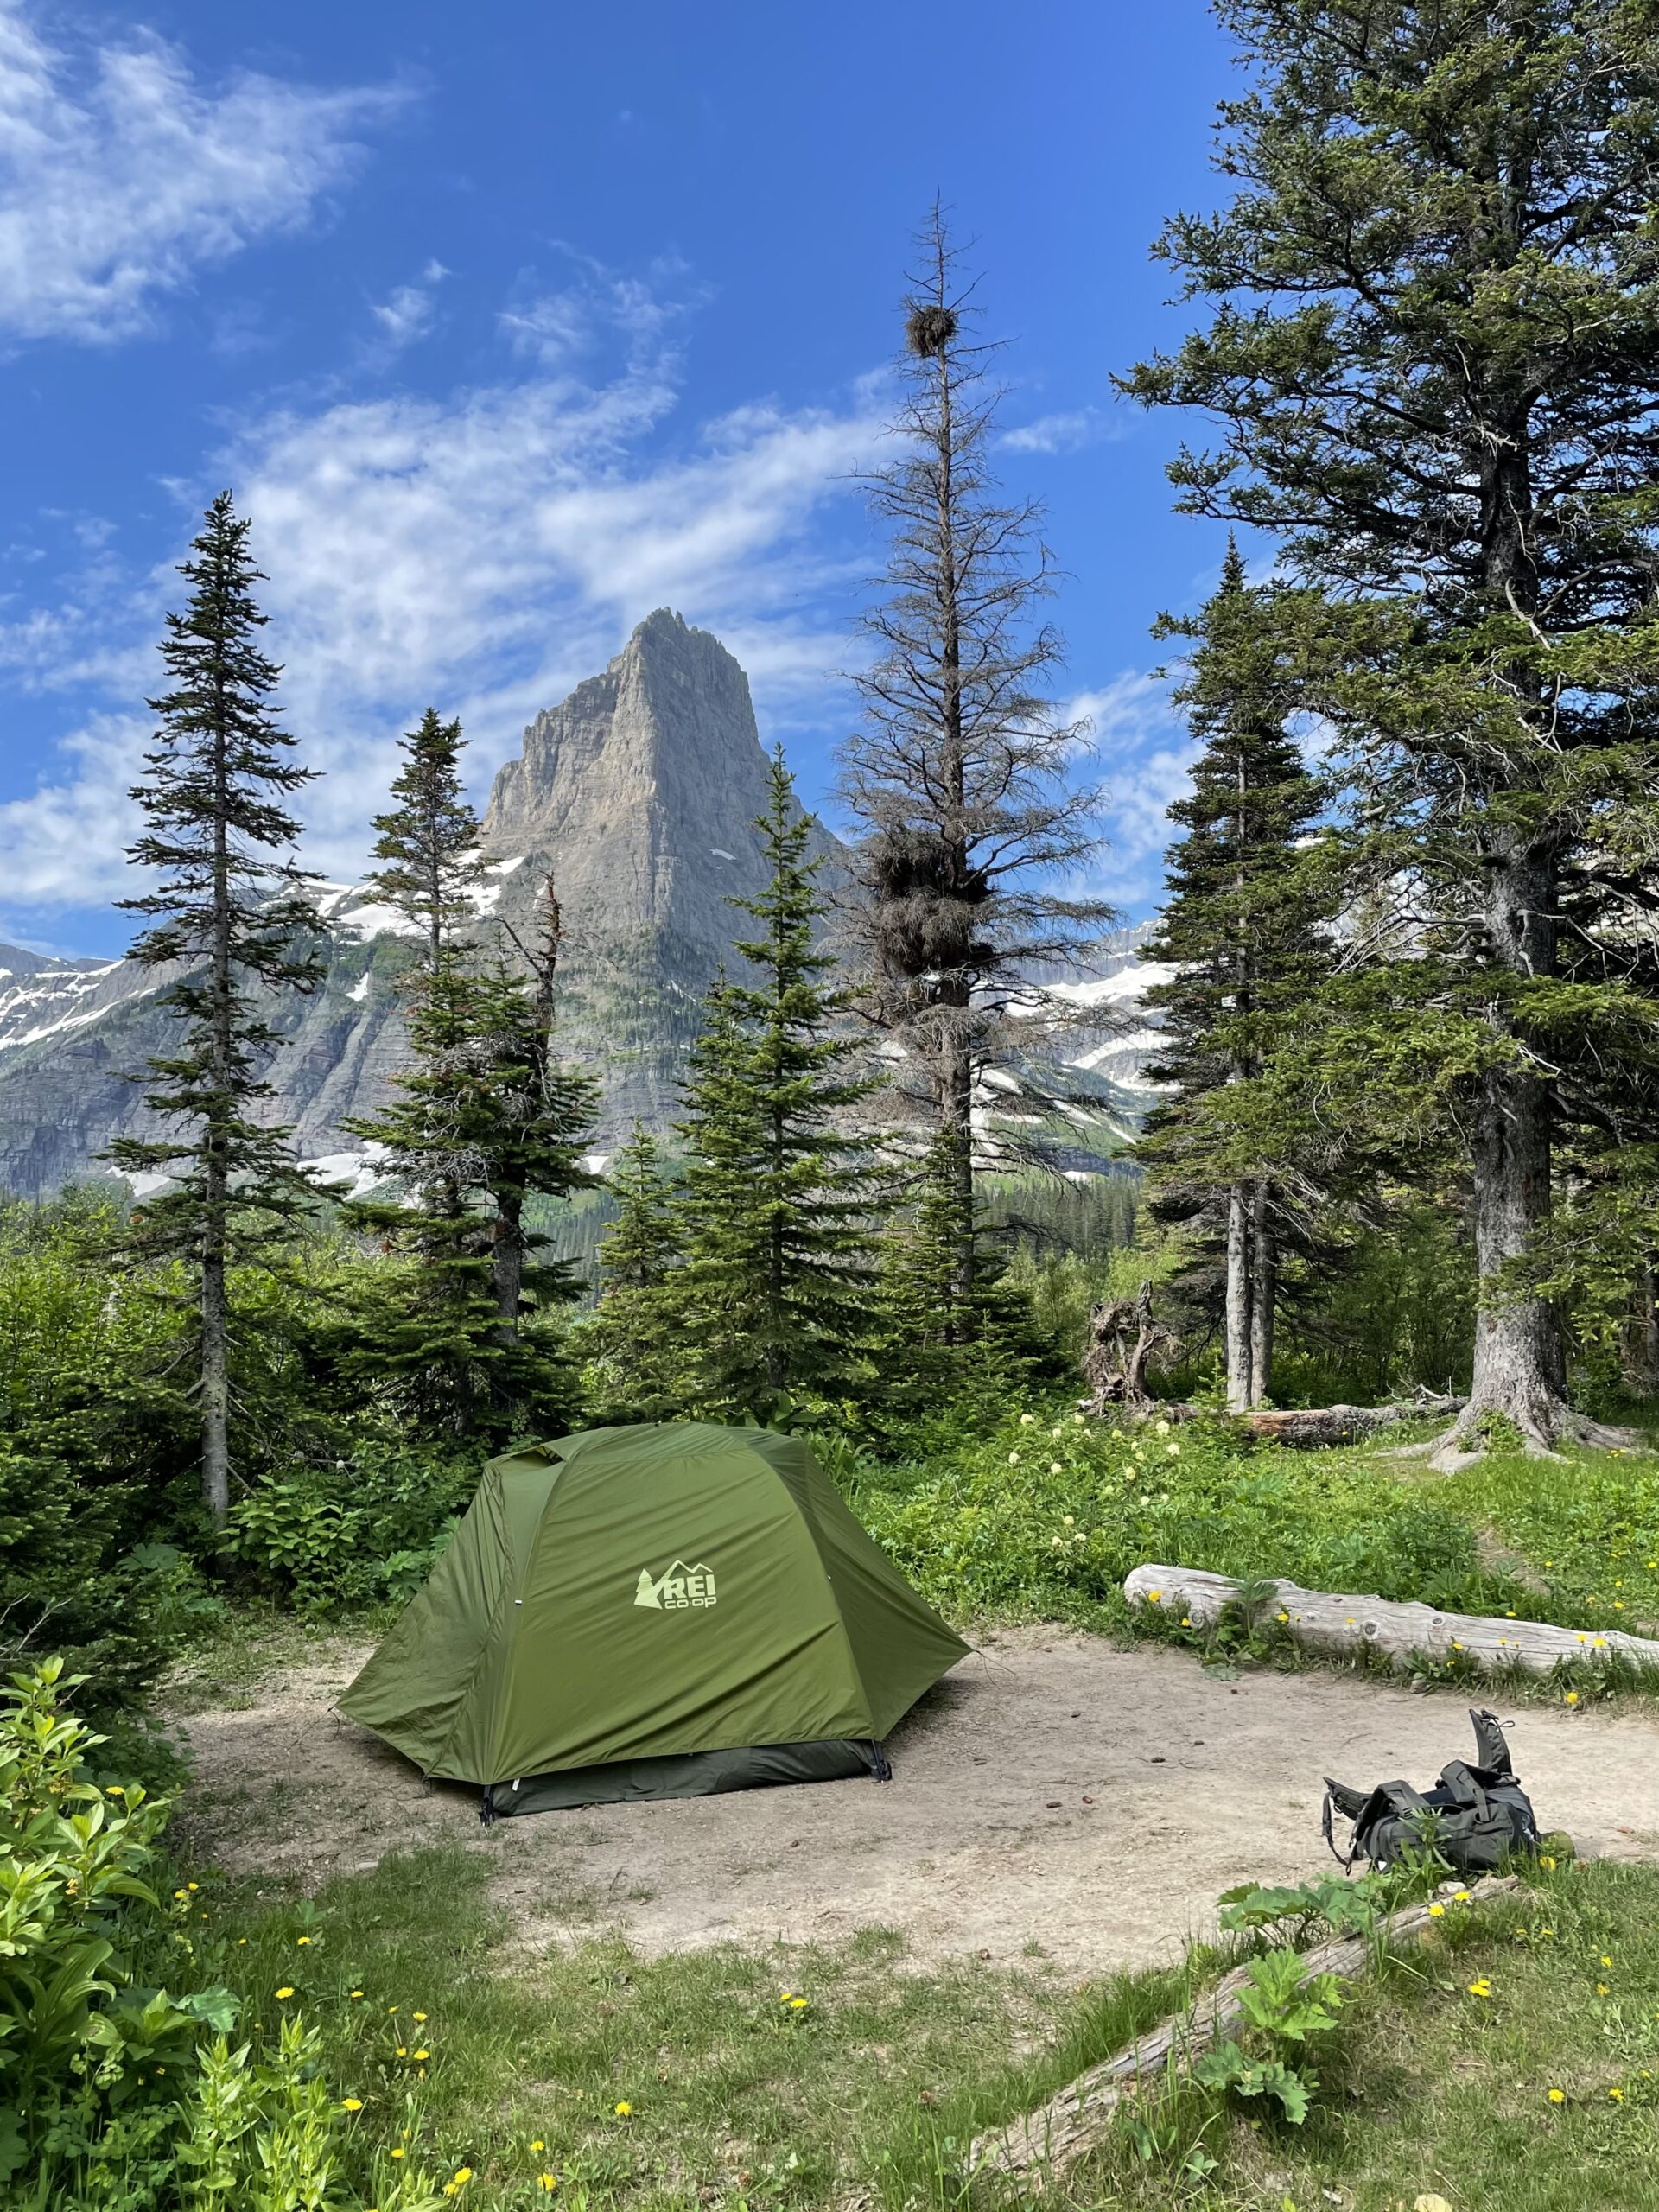
A tent is a really important piece of gear to invest in because it’s your shelter. Your tent is what’s going to keep you out of the elements and help get you a good night’s sleep. It’s also going to be one of the heaviest pieces of gear you’ll carry so weight is something you should really take into consideration when investing in one.
Specs to Consider:
Best Use: Make sure that the tent you are purchasing is meant for backpacking, not camping at a front country site.
Weight: A good rule of thumb to follow is that your tent should weigh approximately 2.5 to 3 pounds per person. If you’re planning on sharing a tent with someone when on the trail you can split up the tent, rainfly, stakes, poles, and footprint to help distribute weight. When I backpack with my partner typically he takes the tent and I carry the stove and canisters.
Sleeping Capacity: Are you planning on hitting the trail solo or with a plus one? This is going to influence if you purchase a one or two-person tent. The first couple of times I backpacked, my partner and I squeezed into a one-person tent and while that’s completely feasible, I am now very fortunate for our two-person tent.
Seasons: Tents can be rated as 2, 3, 4, and 5 seasons. When you’re first getting into backpacking and for most of your backpacking career, a 3 season tent will do the job. This type of tent is good for warm and cool temperatures and can withstand most rain, little to no snow, and some wind. I’ve been caught in 4 inches of snow, some heavier rains, and a windstorm and my 3 season tent held up well. 4 and 5 season tents are meant for more extreme backpackers that will be taking on intense weather conditions like really heavy snow and high winds consistently.
Tent Recommendations:
REI Co-Op Half Dome SL 2+ Tent
So far, this is my favorite tent out there. It’s spacious, easy to set up, and meant for 3 seasons. I’ve experienced rain, snow, wind, and swarms of mosquitoes with this tent and it’s performed wonderfully. Its minimum trail weight stands at 3 lbs and 15 ounces, so extremely reasonable even if you plan on taking off on a solo trip.
Nemo Hornet Light Osmo Ultralight 2P Tent (Great for 1 and 2 persons)
If you’re willing to invest further in your tent and you’re willing to sacrifice on space, you may want to check out the Nemo Hornet. This tent’s minimum trail weight only totals 2 pounds 1 ounce, making it an extremely ultralight option. While this tent has amazing specs in the weight department, the square footage is pretty minimal. In terms of space, it has a total of 6 square feet less than the Half Dome. But if weight is what matters to you, go for the Nemo Hornet.
REI Co-Op Trailmade 1 Tent with Footprint
If you’re looking for a solo backpacking tent that won’t break the bank but gets the job done you’ll want to check out REI’s Trailmade tent. It’s a 3-season tent weighing in at 3 lbs and 8 ounces for its minimum trail weight. It’s super easy to set up, reliable, and is on the affordable side when it comes to backpacking tents which is always a major plus.
Backpacking Tip #6: Do NOT Overpack
A backpacker’s worst nightmare – overpacking. This is honestly something that you’ll learn as you go. The more you backpack, the more you’ll realize what you don’t need and what you might need more of. Even a relatively experienced backpacker can be guilty of overpacking – trust me, I’ve seen it.
Now is not the time to pack your makeup or 3 favorite jackets because you can’t choose just one. The goal is to be as minimal as possible while still bringing everything that you need (and delicious snacks of course).
Ask yourself if you really need it. Do you really need that heavy book or foldable chair? Probably not. Or do you really need that 3-pound bag of granola on a one-night trip? Again…probably not.
I like to lay out all my stuff on the floor before I pack it into my bag to make sure that it’s something that will both get used or get eaten.
Keep Clothing Minimal
The first few times I went backpacking, I definitely brought way more clothes than needed, and let me tell you – clothes are HEAVY. You don’t need a new outfit for each day! You’ll actually wear the same clothes over again. If I’m heading out on a 3 to 5-day trip I like to bring an
- Insulated or down, packable jacket
- Lightweight flannel or sun hoodie
- 2 tanks (that double as bras)
- 2 tees (one to sleep in and one to wear on the trail)
- One pair of shorts (typically to hike in)
- One pair of hiking pants (if we get into heavy brush or the weather changes rapidly)
- 2 to 4 pairs of underwear
- Rain jacket and Rain Pants
- Merino wool leggings (to sleep in)
- 2 pairs of merino wool socks.
- Hat
- Beanie
- Gloves
Do Bring Some Extra Food
You’ll get to the point in your backpacking career, where you’ll know exactly what to pack for each meal and how much you’ll eat. I never return from a backpacking trip these days with any food left in my back. But it’s not a bad idea to start out with a little too much food your first time. Pack that extra tuna packet and tortilla because if you end up needing it, you’ll be thanking yourself.
Bring A Couple of Lightweight Luxury Items
While in everyday life, it may not be considered a luxury item, on the trail it definitely will be. I’m talking about bringing a deck of cards, a pair of lightweight sandals, or a small flask.
Getting out of your hiking boots and slipping on your Tevas – there’s truly no better feeling. Make sure to bring a few items that will bring you happiness once you set up camp. After all, you are there to fully enjoy your backpacking experience and that most definitely includes kicking your feet up at camp and having fun.
Backpacking Tip #7: Test Your Backpacking Gear Before You Go
This is especially important for your first time backpacking or whenever you purchase new gear. Be confident in setting up your tent, filtering water, inflating your sleeping pad, and using your stove. You don’t want to be figuring out how to set your tent up after you’ve hiked 8 miles. So, test your gear before you hit the trail.
Another reason why I mention this is because, on my first backpacking trip, I did not test the inflatable sleeping pad I borrowed before our trip. The sleeping pad ended up having a very small hole that caused it to completely deflate each night meaning I was sleeping on the cold, hard ground. Not ideal for your first or any backpacking trip.
I suggest that you inflate your sleeping pad a couple of nights before your trip, leaving it inflated overnight to make sure that it’s good to go.
Getting into the habit of checking your gear before each backpacking trip, is only going to lead to success.
Backpacking Tip #8: Always Bring a GPS Safety Device
This will be one of the most important things that you choose to invest in and probably one of the most expensive. As someone who has worked in National Parks and participated in Search and Rescues, these GPS Safety Devices can be the difference between life and death for someone.
This isn’t something that’s fun to think about but it’s necessary. And the truth is, accidents happen especially when you’re in the backcountry. I honestly can’t think of a more stressful situation than being stuck miles in the backcountry with no means of communication if something were to go wrong. Carrying a reliable GPS device is going to give you peace of mind and that in itself is priceless
Garmin In-Reach Mini
The Garmin In-Reach offers you just about everything you could want with a GPS device. It’s lightweight, offers global satellite coverage, has two-way messaging capabilities, and has a 14-day battery life.
The most exciting feature is definitely the device’s two-way messaging ability. This allows you to keep in touch with loved ones at home by sending short message updates so they know you’re well and when they can expect you home. This eases everyone’s minds.
With a Garmin In-Reach, you will need to pay for a monthly or annual subscription. Depending on the plan you purchase, you may incur an additional fee for each text message sent on the device.
ResQLink 400 Personal Locator Beacon by Arc Electronics
A far more simple yet resilient GPS Device is the RESQLink. While this device doesn’t offer features such as two-way messaging it will still give you peace of mind with its satellite precision and military durability. Another major plus is that there is no subscription plan. Simply register your device online and you’re good to go.
Backpacking Tip #9: Be Prepared to Navigate
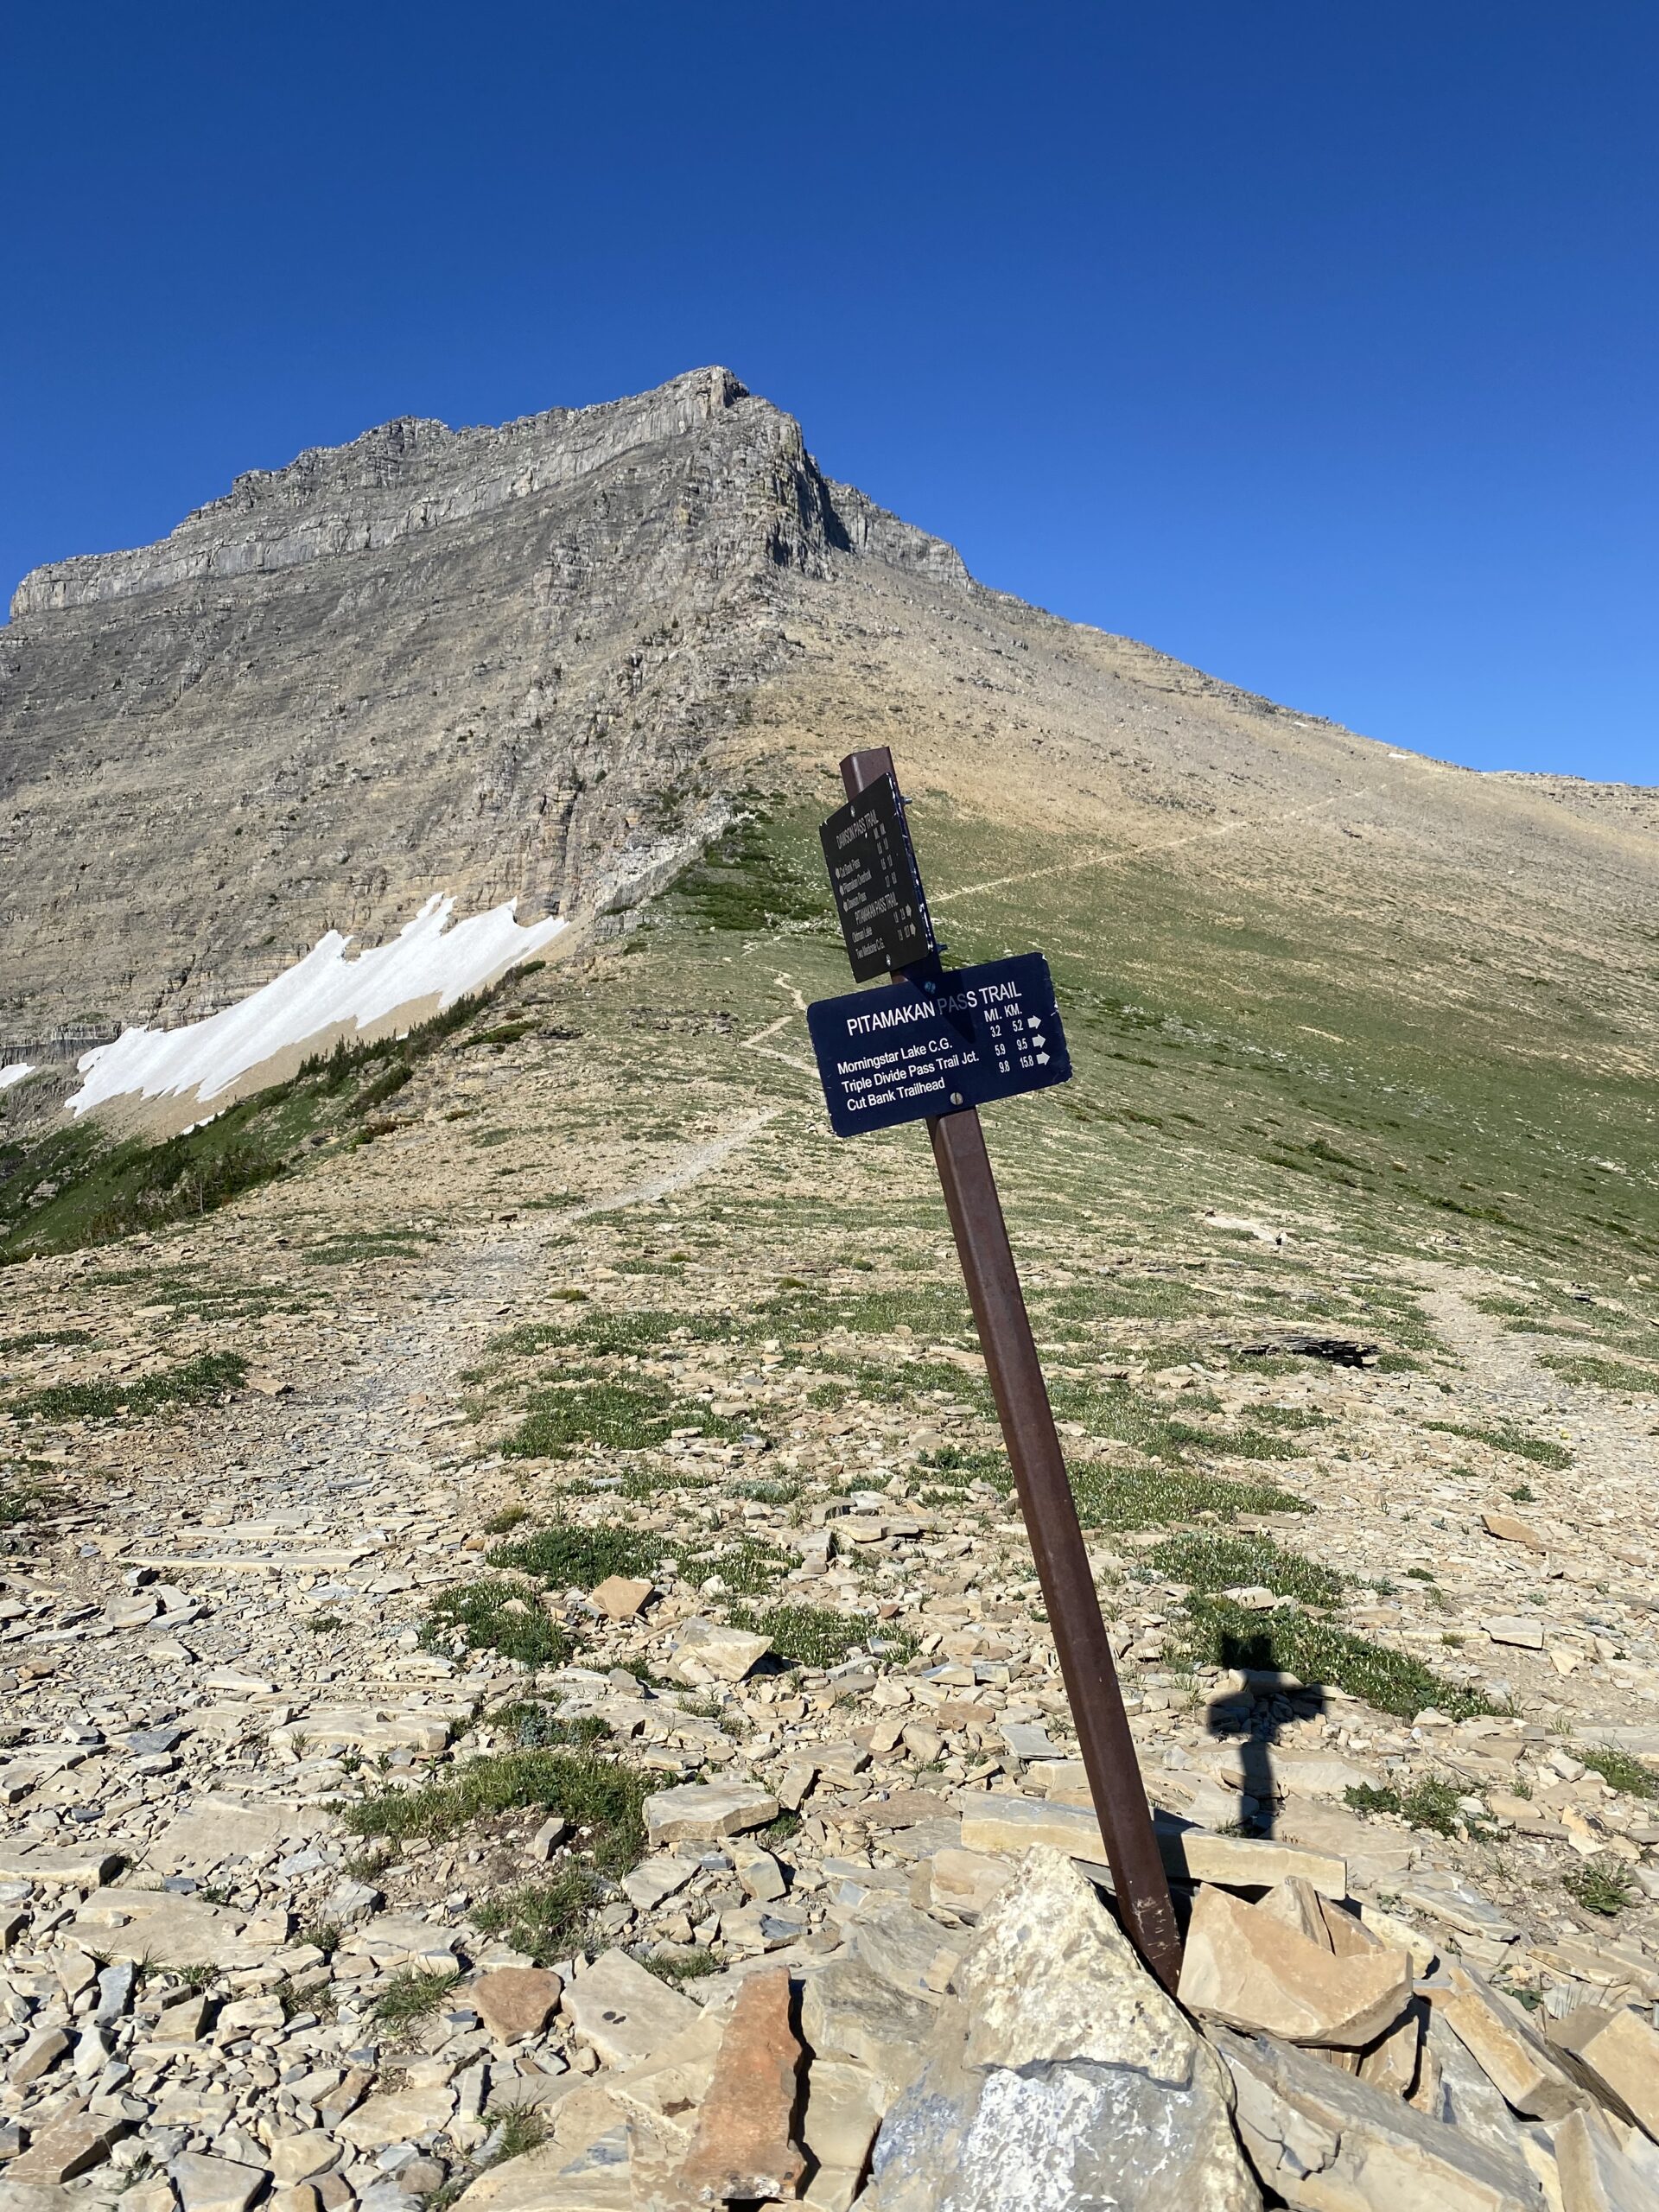
Some hiking trails are extremely easy to navigate and others, not so much. Therefore, it’s really important that you have good navigation skills. The number one thing that’s going to help you navigate on the trail is an offline GPS app.
Gaia GPS
I use Gaia and I can’t emphasize enough how amazing this app is. It’s completely free to download. All you have to do is open the app up when you have cellphone service/Wi-Fi and view the area you will be backpacking in.
This allows the app to ‘download’ that area so when you’re without cell reception, you have a clear image of where you are.
It also will show you your precise location on the map and let me tell you, it’s extremely accurate. Gaia has helped me find the trail when there have been washouts and when I’ve made a wrong turn. I don’t know where I would be if I did not have Gaia downloaded on my phone.
Backpacking Tip #10: Know How to Store Your Food on the Trail
Unfortunately, this is a big one that a lot of people get wrong simply because they just don’t know any better. Food storage is extremely important in areas with not only bears but any type of animal that wants to get into your food (think mice, squirrels, etc.).
Now depending on where you will be backpacking, food storage is going to look a bit different. So it’s important to do your research to figure out how to store your food properly.
Food Lockers
This is going to be the most convenient method to store your food on the trail. However, there are going to be plenty of campsites that do NOT have food lockers. When you do come across one, it’s a special treat. Food lockers are bear-proof metal boxes that have a latch that only humans can access. Simply open the latch, put your food and smell-ables inside, and latch the door again. It’s that easy.
Do your research on the campsites you plan on staying at so you can find out whether or not they have food lockers. Even if they do, it can still be smart to bring a paracord and a bag to hang your food in if something goes wrong.
Food Hangs
In some backcountry campsites, such as the ones in Glacier National Park, this is where you will run into food hangs. Glacier’s campsites are full of upside-down U-shaped bars that tower as high as 25 feet. You’ll toss your rope over the pole, put all your food/smell-ables in a bag, and hoist the bag up the food hang, and tie it off. If you’re at a site with no poles but will be hanging your food, a tree branch works wonderfully well.
Food hangs work in places like Glacier National Park where the bears have not figured out how to pull food down. There are plenty of other areas where this does not work anymore because the bears are simply too smart.
Bear Canisters
Bear canisters are made of hard plastic in a cylindrical shape and they have a screw lid. They’re made to fit in your pack relatively easily even though they can be a bit bulky. Bear canisters are great in areas where food lockers are not available and where the bears have figured out how to get food down from a food hang (yes, bears are really this smart).
Simply place all your food and smell-ables in your bear canister, secure the lid, and preferably tie it off to something FAR away from your tent (50 to 100 meters is a good rule of thumb).
Importance of Food Storage
Now remember…food storage is SO important for many reasons. Making sure wildlife can not gain access to our food means that we are keeping both ourselves and our wildlife safe.
NEVER bring any food or smell-ables into your tent. Bears and other critters are attracted to these things. I’m talking chapstick, toothpaste, perfume, etc.
The second a bear gains access to human food, it’s sadly a dead bear. They will start associating humans with food and that bear is no longer wild and will approach humans in an unsafe manner. The best part of this is that we can fully protect our wildlife simply by storing our food correctly.
This also means packing everything out that you are packing in. That dehydrated meal that was so terrible, you couldn’t finish it? Pack it out.
If you throw that food out into the woods, bears are smart enough to know that it came from a human. Don’t put their lives in danger just because you’re feeling lazy!
The best part about enjoying these wild areas is by keeping the land and the animals as wild and as free as they once were.
Pro-tips for Storing Food in the Backcountry:
- Cook away from camp/where you will be sleeping
- Never eat or bring food into your tent
- Pack out everything this includes trash, orange peels, food you can’t finish, etc.
Backpacking Tip #11: Staying Hygienic on the Trail
Hygiene is something to take into consideration when you’re on the trail. After all, you are most definitely going to be sweating and will be using the bathroom at some point.
Baby Wipes
Baby wipes are my best friend when on the trail. You can get water-based wipes so they don’t leave a sticky residue on your skin and you can purchase them in small packs. I use these for everything, cleaning myself up when I’m feeling dirty and for using the restroom.
Now I know this isn’t glamorous but just make sure to pack these out (even if they say they’re biodegradable). I use a ziplock bag to store mine in and you can double up on bags if you’re worried about it opening.
Hand Sanitizer
You are probably not thinking about sanitizer because hey, you’re going to be in the woods! There’s nothing out there that’s going to get you sick.
Well, that’s slightly wrong…when you use the bathroom (number 2) we’re talking about the possibility of fecal matter getting on your hands.
When you go to cook/eat, you don’t want to be transferring anything onto your food. So bringing a mini-bottle of unscented hand sanitizer is going to save you from getting sick.
Lakes and Rivers
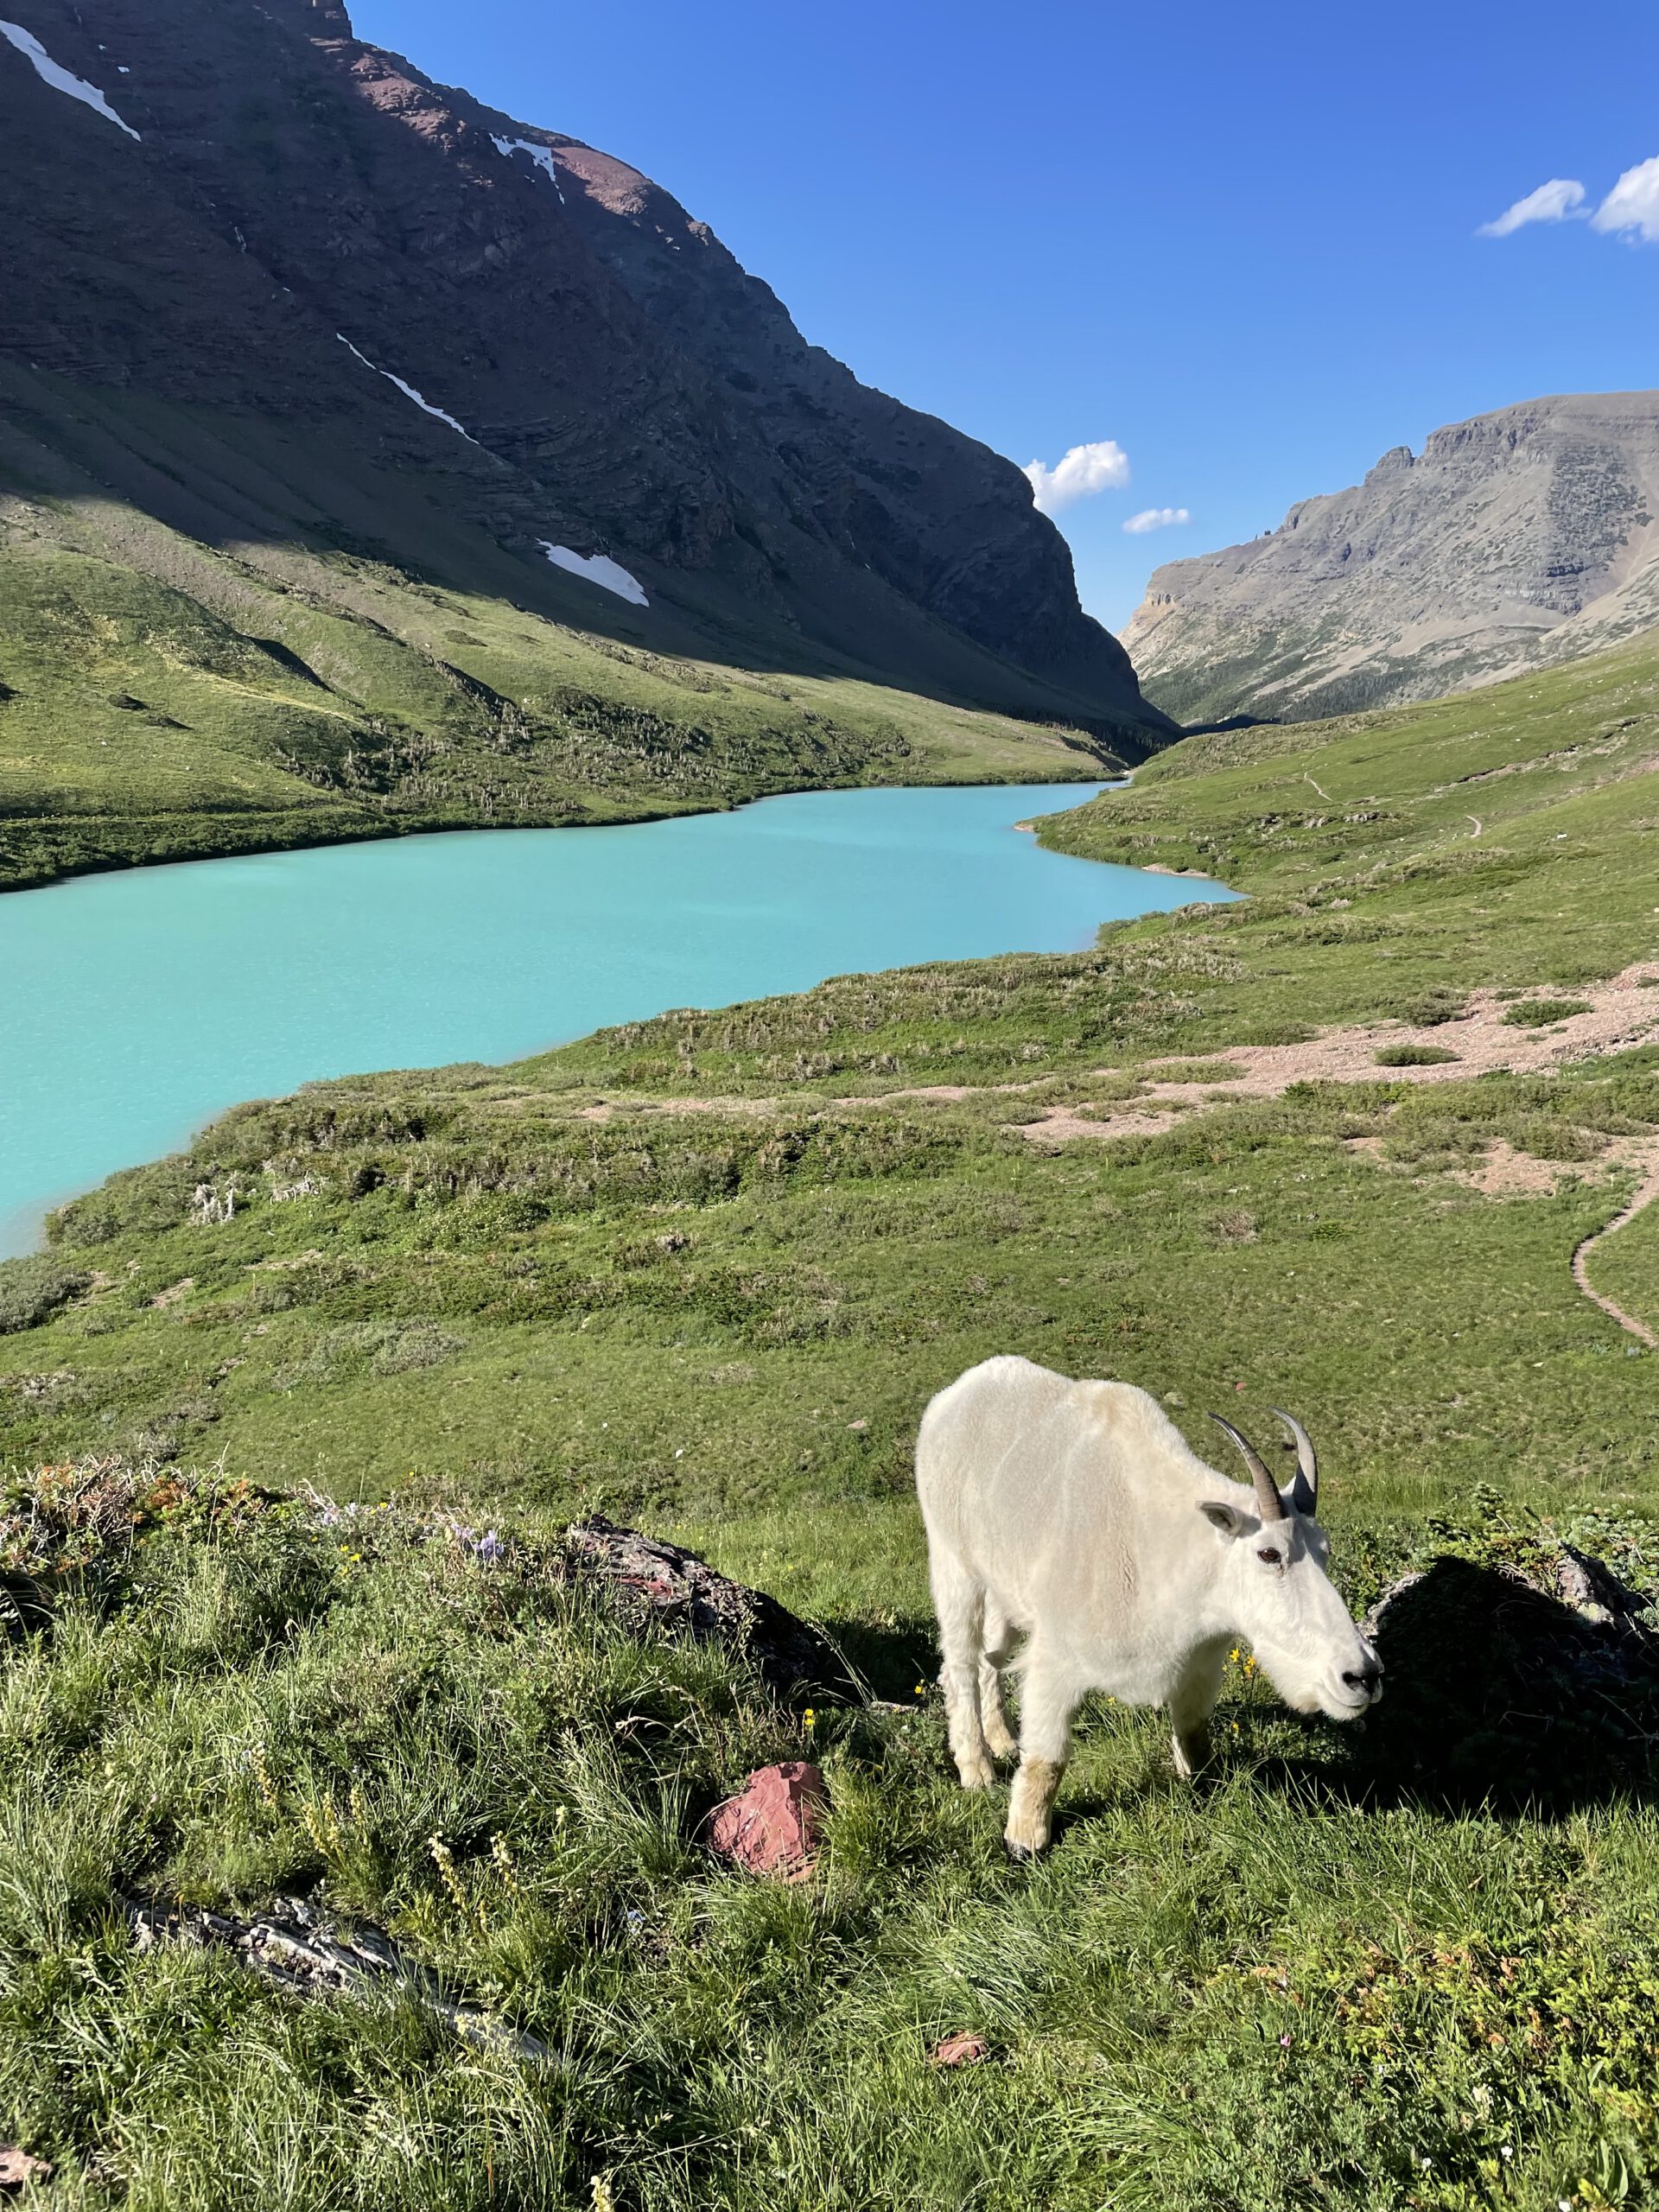
This was my favorite part about backpacking in Montana – lakes are everywhere. There was always a lake to jump in after a sweaty day of backpacking.
This is a great way to feel refreshed after being on the trail for days. Just make sure to not bring along any soap (even if it’s biodegradable) because it will still negatively affect the ecosystem.
Backpacking Tip #12: Stay Hydrated on the Trail
Water, water, water! This will be your best friend! Staying hydrated will keep you moving and feeling good on the trail.
If you plan on backpacking in really hot climates, like the desert, make sure you are taking breaks in the shade. Heat exhaustion and heat stroke are very real.
After working in Utah, I’ve seen countless people suffer from this and I’ve even seen it result in death. It’s something to take very seriously.
Water Sources
Make sure you have your water sources planned out. Depending on the time of year, some water sources may dry up so it’s important to have accurate and up-to-date information. Again, using park rangers as a resource is going to be the best way to get this information.
Water Bladder
Bladders/water reservoirs are a great way to stay hydrated. Backpacks have a slot for your bladder to go in and you can feed the mouthpiece through your shoulder strap. I recommend a 2.5 to 3.5-liter reservoir. You may need up to a gallon of water though if you’re hiking in the desert.
Smart Water Bottle
If I’m going to bring a water bottle, it is most likely going to be a smart water bottle. They are great reusable water bottles, easy to drink from, and my Sawyer Squeeze water filter fits perfectly on it.
Nalgenes
On my first few backpacking trips, I brought Nalgenes along with me. While I love my Nalgenes, they can be bulky and hard to reach on the trail. I found I wasn’t hydrated as much as I should be since it was inconvenient to pull it out of my pack constantly. However, Nalgenes have mL measurement on the side of the bottles which helps a lot when you have to measure water out for your dehydrated meals.
Water Filters:
Sawyer Squeeze
This is probably the most common water filter you’ll find backpackers using due to it being both affordable and lightweight. I’ve used my Sawyer squeeze for a long time now and have thought it to be a good option for those trying to keep pack weight down.
Katadyn Gravity BeFree Water Filtration System
This is the water filtration system I used for an entire summer of backpacking and it did really well. What’s nice about this system is that it holds 3 liters of water and all you have to do is hang it up somewhere and it begins filtering water very quickly. Overall, it’s great for ease of use for when you get into camp.
Water Filter Take-aways:
Maintenance: typically you will need to service any water filter you purchase. Make sure you’re doing this regularly so you don’t end up on the trail with a clogged filter
Test Before You Go: Test your filter each time before you depart on your backpacking trip to make sure it’s working properly
You Can Always Boil Water: If all else fails, boil your water. Bring it to a boil and leave it at a boil for a full minute to ensure the water is potable
Backpacking Tip #13: Take Care of Your Feet
You are going to be on your feet all day long so it’s important to give them some love and attention.
Hiking Boots/Trail Runners
Make sure that whichever hiking shoe or boot you choose that it’s not going to give you any issues before your trip. Test them out and if they need breaking in, wear them around town and on walks.
Wool Socks
There’s no reason to be purchasing any other type of sock other than Merino wool. Wool does not hold onto odor and is extremely sweat-wicking keeping your feet nice and dry. Wool adds cushion and comfort giving your feet the most protection possible.
Cut Your Toenails!
If you forget to cut your toenails before you hit the trail it can turn into some unneeded discomfort and pain. If your nails are long enough, they’ll push against the end of your shoe resulting in both pain and bruised nail beds.
Mole Skin/Bandages
I’ll never leave for a backpacking trip without a ton of bandaids on my back. My feet will often form blisters and the only thing that keeps them at bay is covering them with a piece of moleskin or a bandaid.
Backpacking Tip #14: Plan Out Your Backpacking Meals
Planning out your meals will help with the issue of bringing too little or too much food. Figure out how many breakfasts, lunches, and dinners you will be eating out on the trial. And figure in snacks as well.
Typical Backpacking Meal Day:
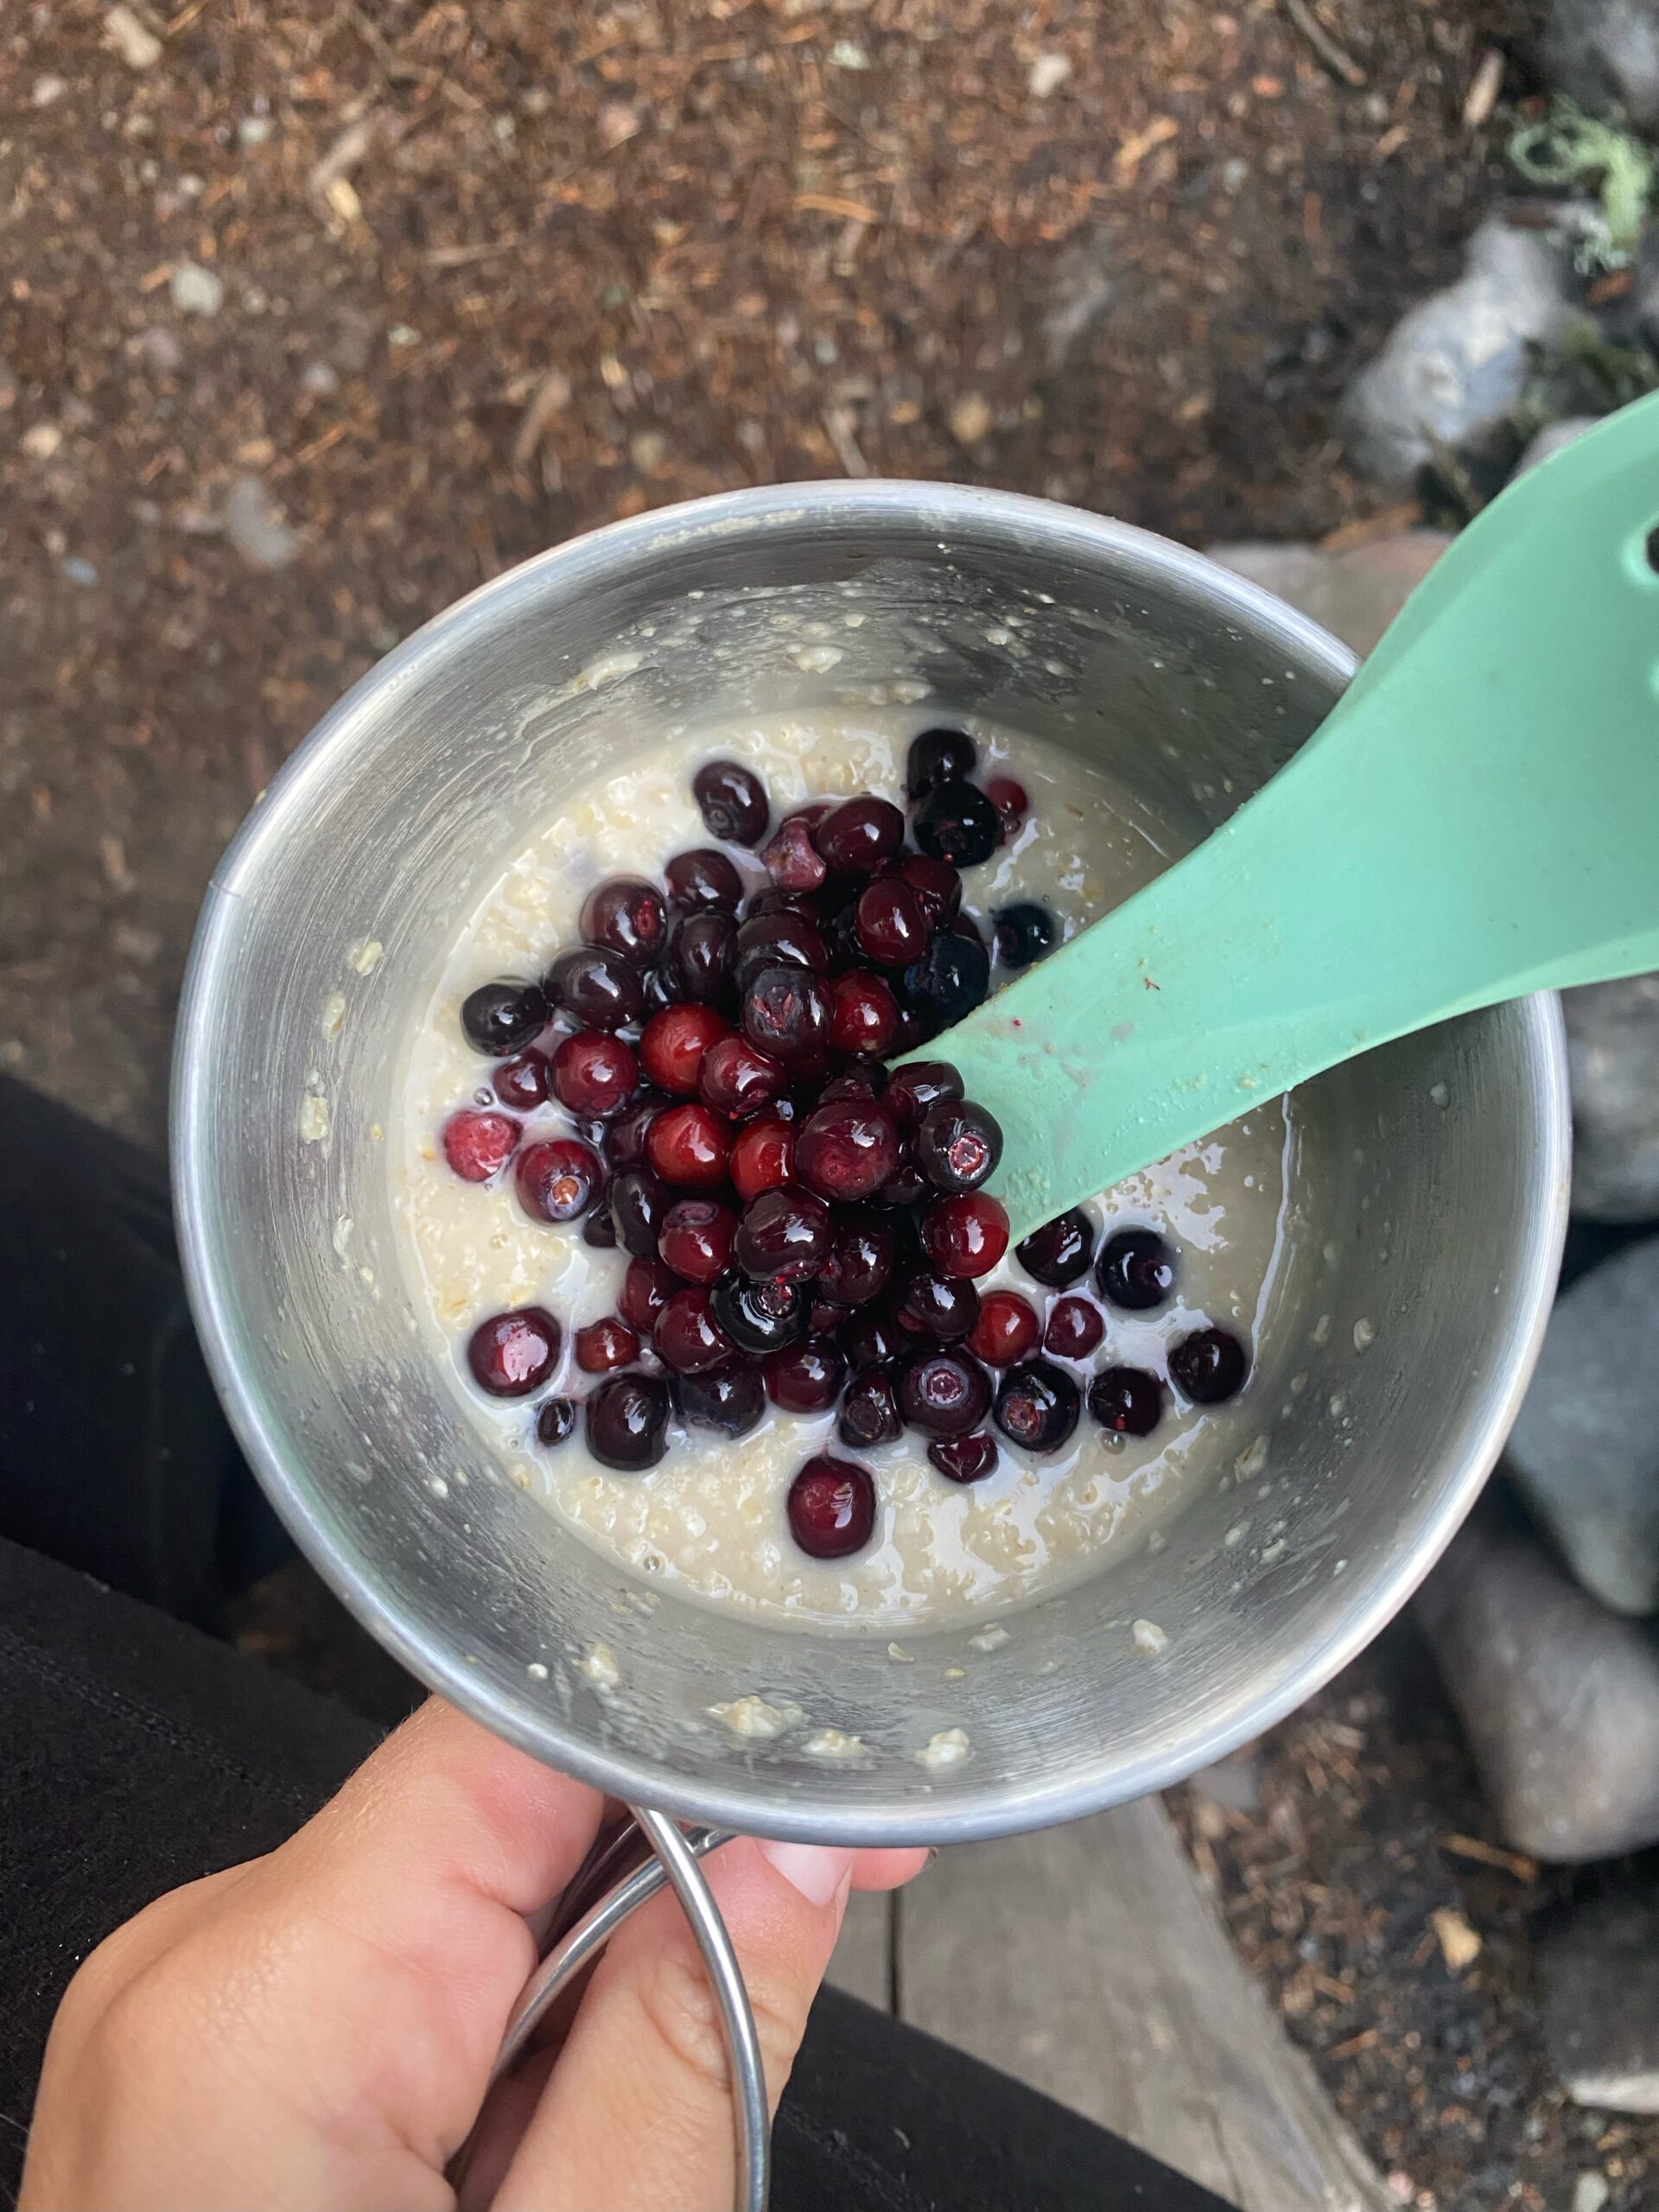
Breakfast: Instant coffee, biscuits and gravy (freeze-dried), oatmeal, breakfast bar, avocado toast
Lunch: Tuna pack on a tortilla with potato chips or PB&J
Dinner: Freeze Dried Dinner Meal (peak refuel or mountain house)
Snacks: Dried mango, ritz crackers, avocado, granola (protein), instant potatoes, trail mix, nuts, beef jerky, snickers bar, ramen
Backpacking Stove and Cooking Recommendations:
Pocket Rocket
This was the stove I started out with and still continue to love despite the fact I own a Jetboil now. The pocket rocket is the most lightweight and affordable camp stove option. All it does is screw into a fuel canister, you open three prongs, and you have yourself a stove. However, you do have to provide something to cook on it with.
I’d recommend starting with a small aluminum cook set. We picked up a lightweight, small pot from a second-hand store and it has always worked wonders.
When purchasing a cook set with no handles, make sure to have something to wrap around the pot once it’s heated up. Our cook set perfectly fit the pocket rocket and fuel canister so pack space was truly optimized.
Jetboil Flash
The Jet Boil Flash brings water to a boil in a matter of seconds. Its convenience and ease of cooking definitely makes it one of the best on the market. It weighs in at 13.1 ounces. What I love about this style of Jet Boil, in particular, is that it perfectly fits a fuel canister so you can optimize on space.
Spork
You’ll need something to eat and cook with!
Kitchen Rag
This will help you wash/dry your dishes when you’ve finished eating – if you have any mess to clean up
Ziploc Bag
I always carry a Ziploc to put all my trash in from food packaging.
Backpacking Tip #15: Stock Up Your Vehicle
This is one of those things you simply learn about from experience. Nearly every backpacking trail ends in a relatively secluded area. Meaning that there aren’t any restaurants or grocery stores nearby. I got in the habit of filling up a few water bottles and leaving snacks in the car.
That way you can hike out with just enough water to get you back to the trailhead. This also means that your backpack is going to be nice and light on your final day on the trail.
I also recommend having an extra set of clothes, socks, and comfy shoes.
Once, I hiked out of the backcountry for 13.5 miles in a complete downpour and would have loved a clean and dry set of clothes to change int
While there is a lot to know about backpacking in the wilderness, you will learn as you go. I have been on countless backpacking trips and I am still learning as I go. It’s one of things that makes backpacking so fun and so rewarding.
Most of all, remember to have fun! Every step you take on the trail is part of the experience.
More From This Category
No Results Found
The page you requested could not be found. Try refining your search, or use the navigation above to locate the post.

0 Comments